Transform Your Kitchen with 3D Design Tools
- Anthony Trozzo

- Apr 6
- 5 min read
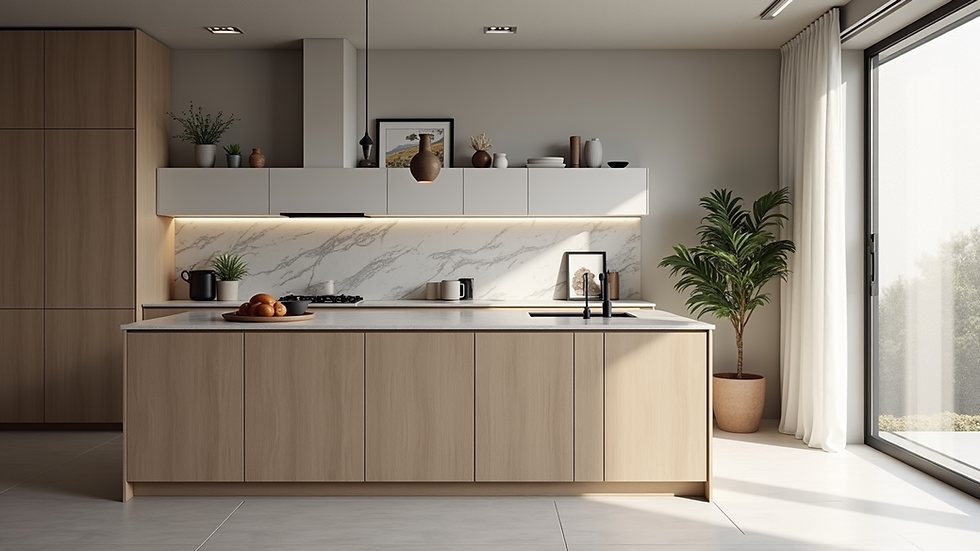
Are you tired of your outdated kitchen? Do you dream of a space that is not only functional but also aesthetically pleasing? If so, you’re not alone. Many homeowners find themselves in a similar situation, yearning for a kitchen transformation that reflects their style and meets their needs. Fortunately, with the advent of 3D design tools, you can visualize your dream kitchen before making any commitments. This blog post will explore how these innovative tools can help you create the kitchen of your dreams.
Understanding 3D Design Tools
3D design tools are software applications that allow users to create three-dimensional models of spaces and objects. In the context of kitchen design, these tools enable homeowners and designers to visualize layouts, colors, materials, and appliances in a realistic manner.
Benefits of Using 3D Design Tools
Visualization: One of the most significant advantages of 3D design tools is the ability to see your kitchen in a realistic format. This helps you understand how different elements will work together.
Customization: You can experiment with various layouts, colors, and materials without the need for physical changes. This flexibility allows for a more personalized design.
Cost-Effective: By visualizing your kitchen before making any purchases, you can avoid costly mistakes. You’ll have a clearer idea of what works and what doesn’t.
Time-Saving: Instead of spending hours in showrooms, you can design your kitchen from the comfort of your home.
Popular 3D Design Tools for Kitchen Design
There are several 3D design tools available that cater specifically to kitchen design. Here are a few popular options:
SketchUp
SketchUp is a versatile 3D modeling tool that is user-friendly and perfect for beginners. It offers a free version with basic features, making it accessible for those who want to try their hand at kitchen design.
Key Features:
- Extensive library of pre-made models
- Easy-to-use interface
- Ability to create detailed floor plans
Home Designer Suite
Home Designer Suite is a more advanced tool that provides comprehensive features for kitchen design. It is ideal for homeowners looking for detailed customization options.
Key Features:
- 3D visualization with realistic textures
- Automated building tools for accurate measurements
- Extensive catalog of appliances and fixtures
RoomSketcher
RoomSketcher is another excellent option for kitchen design. It offers a simple drag-and-drop interface, making it easy to create your dream kitchen layout.
Key Features:
- 2D and 3D visualization
- Ability to view designs from different angles
- User-friendly mobile app for on-the-go design
How to Get Started with 3D Kitchen Design
Now that you understand the benefits and options available, let’s explore how to get started with your kitchen design project.
Step 1: Gather Inspiration
Before diving into the design process, gather inspiration from various sources. Look at home improvement magazines, websites, and social media platforms like Pinterest. Create a mood board that reflects your style preferences, including colors, materials, and layouts.
Step 2: Measure Your Space
Accurate measurements are crucial for a successful kitchen design. Measure the dimensions of your kitchen, including the length and width of walls, the height of ceilings, and the placement of doors and windows. This information will help you create a realistic model in your chosen 3D design tool.
Step 3: Choose Your 3D Design Tool
Select a 3D design tool that suits your needs and skill level. If you’re a beginner, consider starting with a user-friendly option like SketchUp or RoomSketcher. If you’re more experienced, you may want to explore advanced tools like Home Designer Suite.
Step 4: Create Your Design
Using your chosen tool, start creating your kitchen design. Begin with the layout, placing walls, doors, and windows. Next, add cabinets, countertops, appliances, and other elements. Don’t be afraid to experiment with different configurations until you find the perfect fit.
Step 5: Visualize and Adjust
Once you’ve created your initial design, take advantage of the 3D visualization features. Walk through your kitchen virtually to see how everything looks together. Make adjustments as needed, whether it’s changing the color of cabinets or rearranging appliances.
Step 6: Finalize Your Design
After making all necessary adjustments, finalize your design. Save your project and consider printing out the plans or sharing them with a contractor or designer. This will help ensure that your vision is accurately translated into reality.
Common Mistakes to Avoid
While using 3D design tools can be incredibly beneficial, there are common pitfalls to watch out for:
Ignoring Functionality: A beautiful kitchen is great, but it must also be functional. Ensure that your design allows for easy movement and accessibility.
Overlooking Storage: Adequate storage is essential in any kitchen. Make sure to incorporate enough cabinets and shelving to meet your needs.
Neglecting Lighting: Lighting plays a crucial role in kitchen design. Consider both natural and artificial lighting when planning your space.
Forgetting About Workflow: The kitchen work triangle (the relationship between the stove, sink, and refrigerator) is vital for efficiency. Keep this in mind when designing your layout.
Real-Life Examples of Kitchen Transformations
To inspire your design journey, let’s look at a few real-life examples of kitchen transformations achieved using 3D design tools.
Example 1: Modern Minimalism
A homeowner used SketchUp to create a modern minimalist kitchen. They focused on clean lines, a neutral color palette, and open shelving. By visualizing their design in 3D, they were able to see how the space would feel and make adjustments before committing to any purchases.
Example 2: Rustic Charm
Another homeowner wanted to achieve a rustic charm in their kitchen. Using Home Designer Suite, they experimented with different wood finishes, vintage appliances, and farmhouse sinks. The 3D visualization helped them understand how the elements would work together, resulting in a cohesive design.
Example 3: Family-Friendly Layout
A family with young children used RoomSketcher to design a kitchen that prioritized safety and accessibility. They created a layout that allowed for easy movement and included features like rounded countertops and child-proof cabinets. The 3D tool helped them visualize the space and ensure it met their family’s needs.
Conclusion
Transforming your kitchen is an exciting journey, and 3D design tools can make it a reality. By allowing you to visualize your ideas, these tools empower you to create a space that is both functional and beautiful. Whether you’re a beginner or an experienced designer, there’s a tool out there that can help you bring your vision to life.
So, gather your inspiration, measure your space, and start designing your dream kitchen today! With the right tools and a little creativity, you can create a kitchen that you and your family will love for years to come.


Comments